
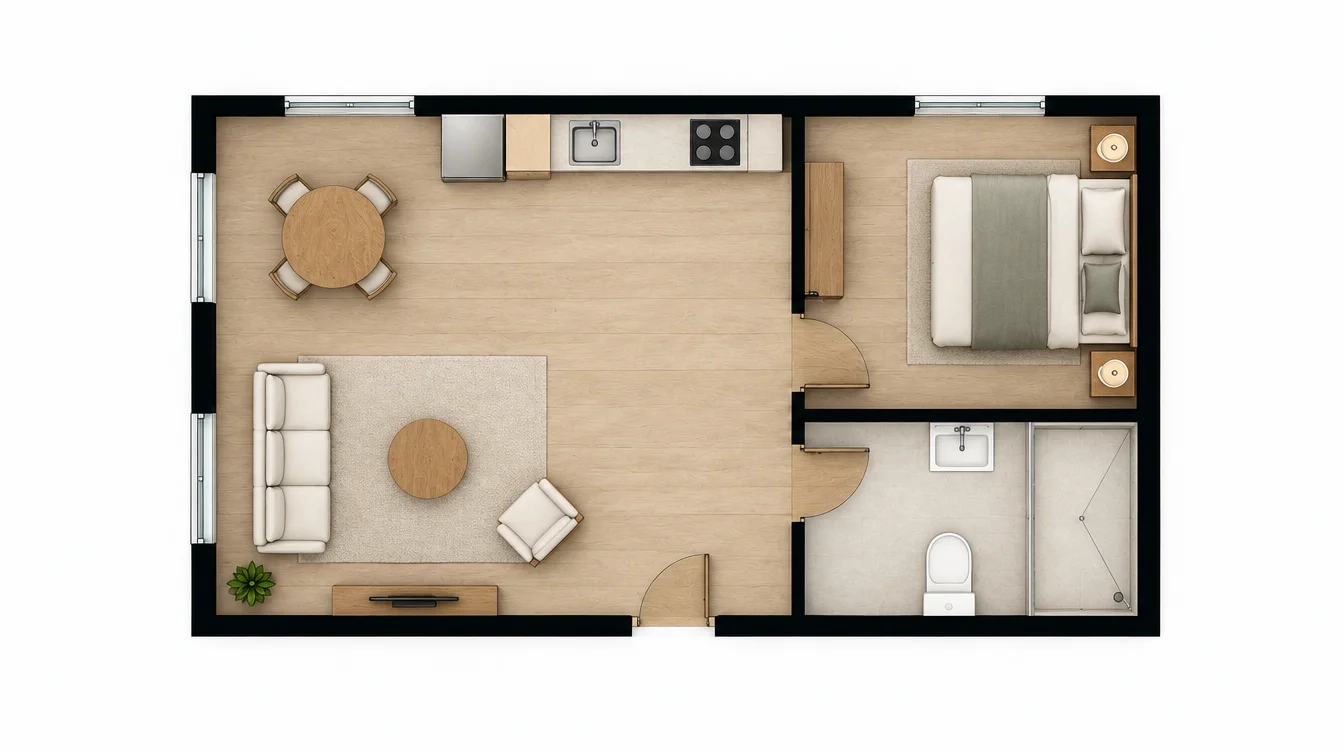
A rendered floor plan
A presentation image viewed from above. Use it to discuss finishes, furniture direction and the relationships between rooms. It does not replace the measured source drawing.

From plan to presentation
A floor plan explains the layout, but linework alone leaves furniture and finishes to the imagination. Use AI floor plan rendering in Renderz to explore a furnished view from above. Bring the resulting image to a client discussion alongside the original plan, with the room boundaries and circulation still available to check.
A closer look
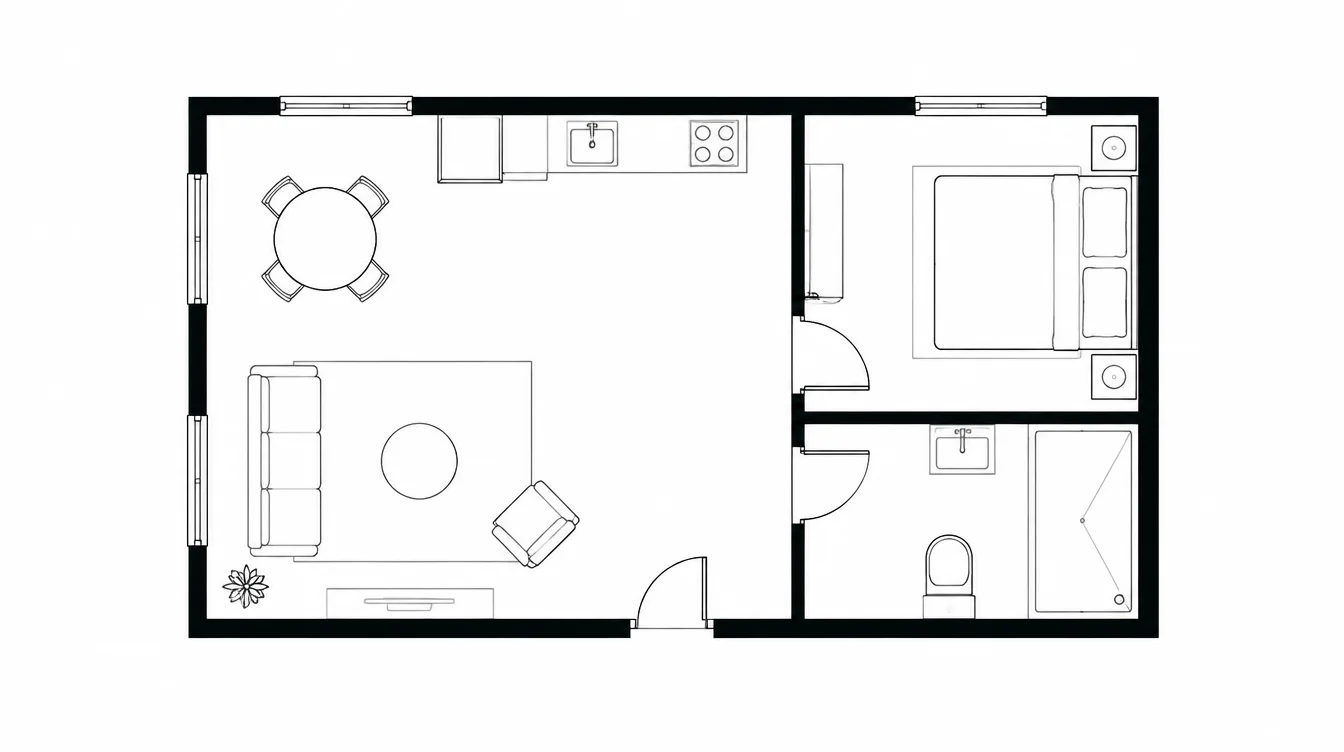
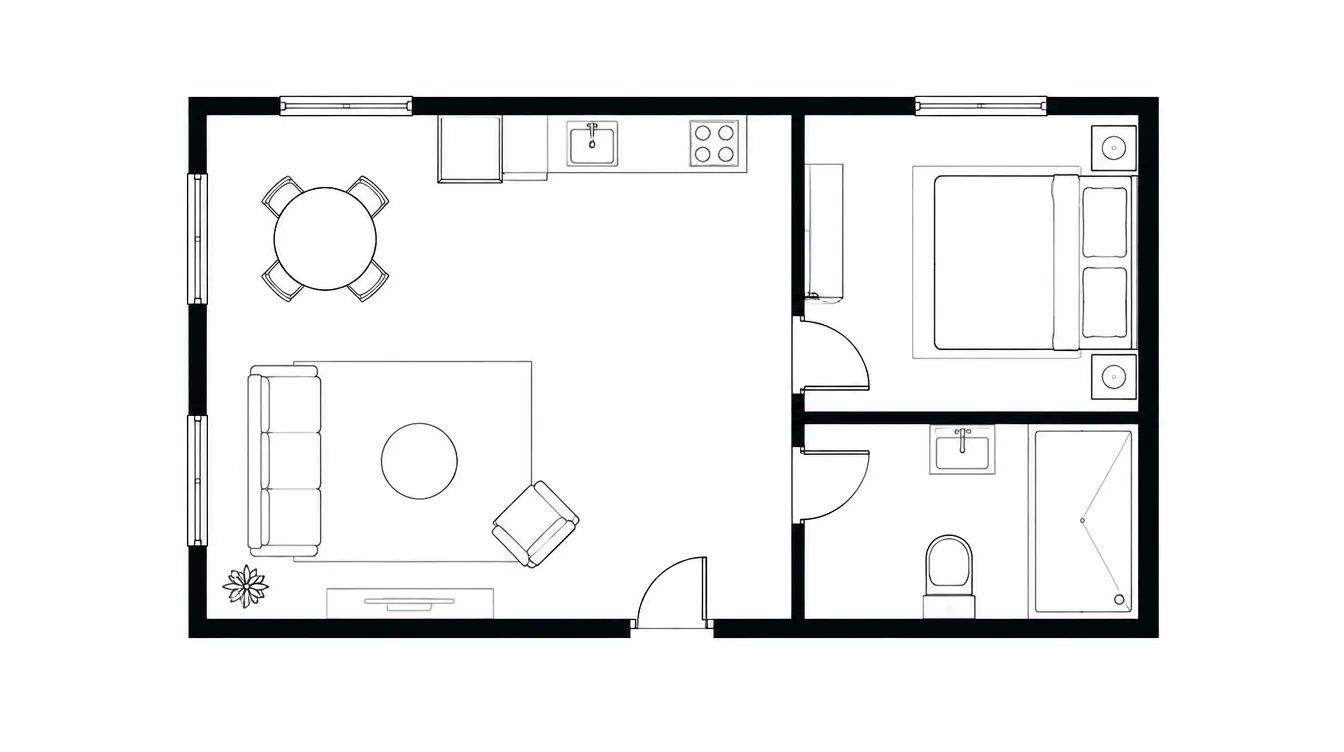
A schematic apartment plan shows an open living and dining area beside a bedroom and bathroom.
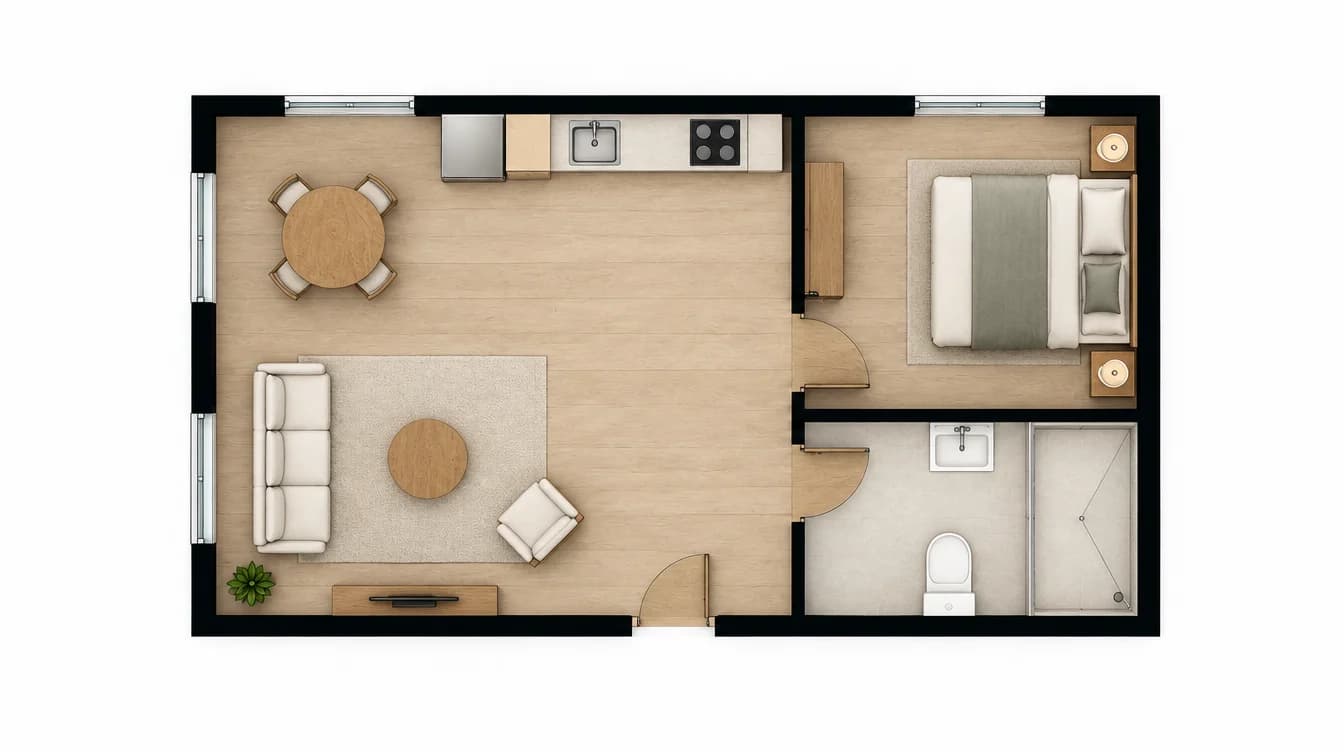
Timber flooring, soft furnishings and tile make the different uses of the rooms easier to read from above.
Compare every wall, opening and furniture footprint with the source. Do not infer usable dimensions from a generated image.
Upload a legible plan image or PDF. Use a single level with clear room boundaries, doors and windows. Keep the dimensioned original for verification.
Choose Top-down floor plan in the rendering options. Describe flooring and furniture within the existing rooms. Name the walls and openings that must remain in place.
Compare the rendered layout with the original plan. If a partition, opening or circulation route changes, revise the input or request before using the image in a client presentation.
Render this existing floor plan in an exact top-down orthographic view. Keep the original footprint, room boundaries, door openings and window positions. Explore pale oak flooring in the living area and bedroom, light stone tile in the bathroom and restrained neutral furniture within the existing rooms. Do not add rooms, move walls or create perspective. Do not include text or dimensions in the final image.
Suggested wording to adapt in Renderz. It is not a guarantee of an identical image or exact geometry preservation.
A presentation image viewed from above. Use it to discuss finishes, furniture direction and the relationships between rooms. It does not replace the measured source drawing.
When you need to move walls or set a viewpoint, work in Plan Studio. Importing or editing geometry is a separate workflow from generating a floor-plan image.
Use a selected model view, room photo or perspective sketch to explain the experience inside a room. A plan alone may leave heights and other vertical details unspecified.
Generated furniture, textures and shadows can make a plan easier to understand, but they can also hide or reinterpret a boundary. Check the layout before discussing the finish palette.
| Check | Reference | What to compare |
|---|---|---|
| Walls and rooms | Dimensioned original plan | Footprint, partition positions, room count and relative room sizes |
| Doors and circulation | Door schedule and layout | Openings, door swings and paths between rooms |
| Furniture and finishes | Furniture layout and specifications | Furniture footprints, usable clearances and the intended floor-finish boundaries |
30 trial credits, no credit card required. Test Full HD renders, 4K upgrades and animations.